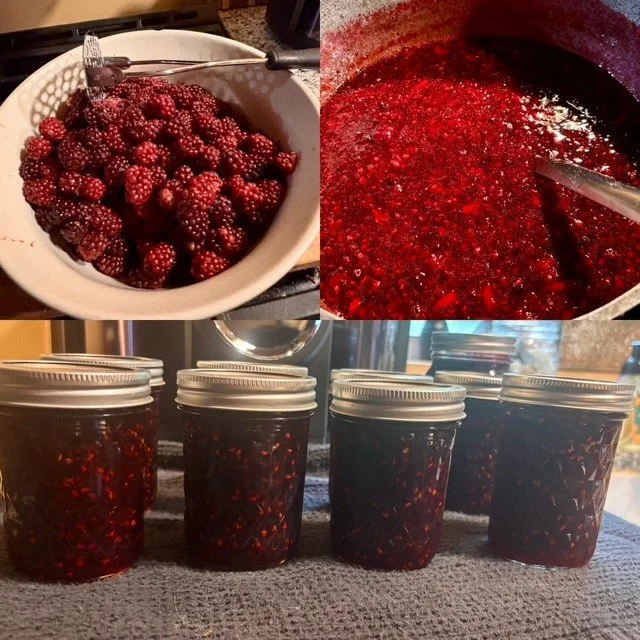

From the Kitchen: Blackberry Jam
When I moved back home in 2022, I couldn’t wait to get my garden growing again. I dreamed of blackberries and raspberries, fruit trees, and an abundance of organically grown vegetables.
The following spring, I bought blackberry plants from a local greenhouse and eagerly planted them near the house… never imagining how slowly they would grow. For two years, it was a berry here and a berry there—just enough to finally make a tiny blackberry cobbler last summer.
This year was different.
My blackberry bushes absolutely exploded with luscious, juicy berries! I’ve already baked one cobbler, and today it was finally time to make homemade blackberry jam.
I pulled out my trusty old water bath canner (even though I recently bought a fancy new electric canner), gathered my supplies, and spent the morning filling and processing nine jars of jam.
There really is something so satisfying about preserving the harvest.
From the Kitchen. From the Farm. From the Heart.
Joyful Heart Farm Blackberry Jam
Yield: Approximately 8 half-pint jars
Ingredients
5 cups crushed blackberries
7 cups granulated sugar
1 box (1.75 oz) Sure-Jell Original Fruit Pectin
Instructions
Wash the blackberries, remove any stems or leaves, and crush them with a potato masher.
Measure exactly 5 cups of crushed berries (including any juice) into a large, heavy-bottomed saucepan or stockpot.
Stir in the entire box of Sure-Jell Original Fruit Pectin.
Bring the mixture to a full rolling boil over high heat, stirring constantly. (A rolling boil is one that cannot be stirred down.)
Add all 7 cups of sugar at once. Stir until dissolved.
Return the mixture to a full rolling boil and boil exactly 1 minute, stirring constantly.
Remove from the heat and skim off any foam, if desired.
Ladle the hot jam into hot, sterilized half-pint jars, leaving ¼-inch headspace.
Wipe the jar rims with a clean, damp cloth. Apply lids and screw bands until fingertip tight.
Place the jars into a boiling water bath canner, ensuring they are covered by at least 1 inch of water.
Once the water returns to a full boil, process the jars for 10 minutes.
After Processing
Turn off the heat and carefully remove the canner lid, opening it away from your face to avoid the steam.
Using a jar lifter, carefully remove the jars and place them upright on a towel or cooling rack. Do not tip the jars or tighten the bands.
Leave at least 1 inch of space between the jars so air can circulate.
Allow the jars to cool undisturbed for 12–24 hours. Do not press on the lids while they are cooling.
After 12–24 hours, check each seal:
Remove the screw band.
Press the center of the lid. A properly sealed lid will be concave and will not flex up and down.
If a jar did not seal, refrigerate it and use it within a few weeks.
Wipe the sealed jars clean, label them with the contents and date, and store them in a cool, dark place.